Don't wanna be here? Send us removal request.
Photo


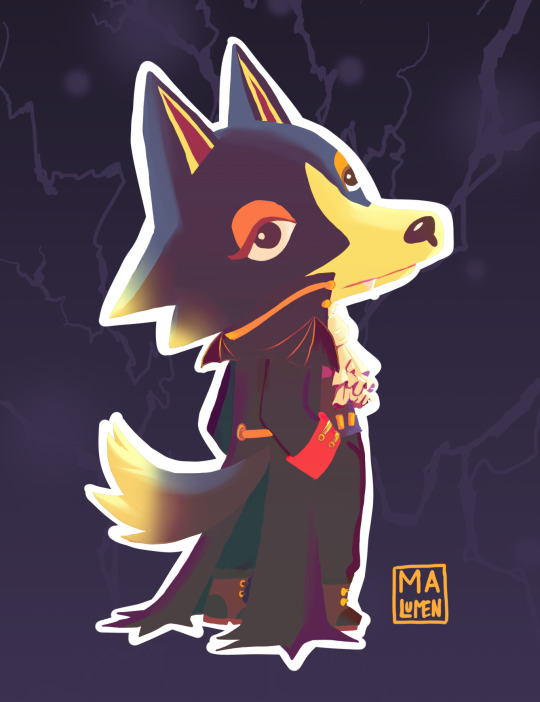


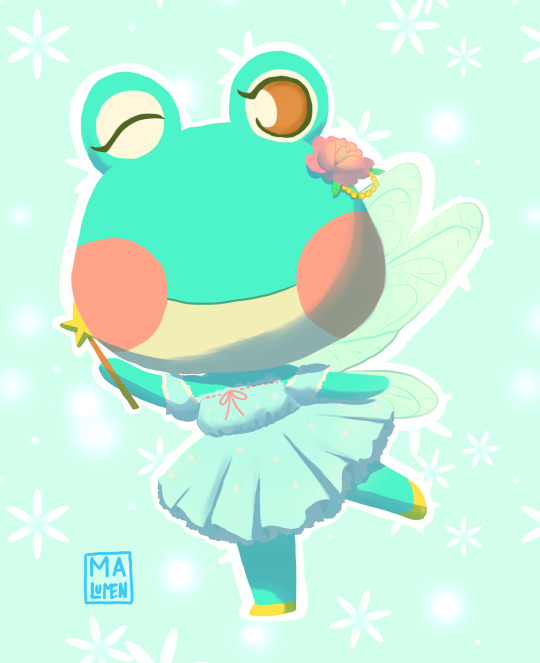
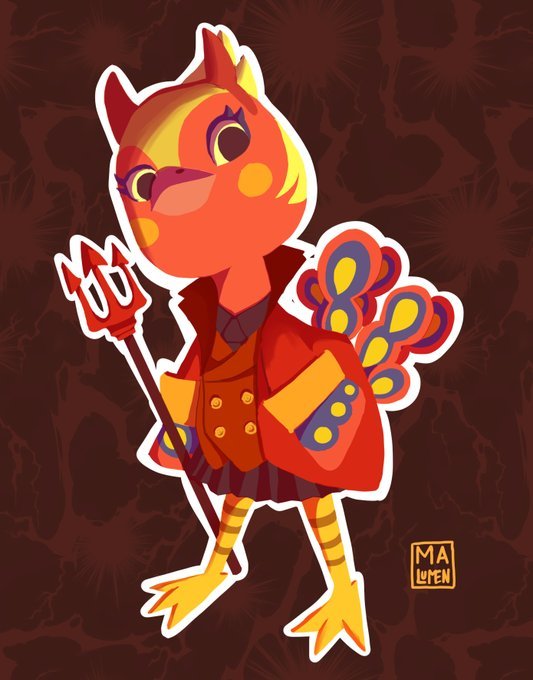


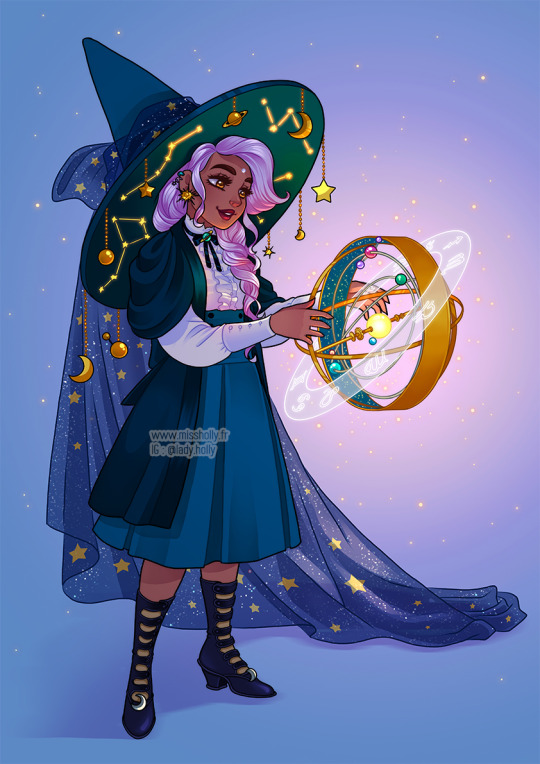
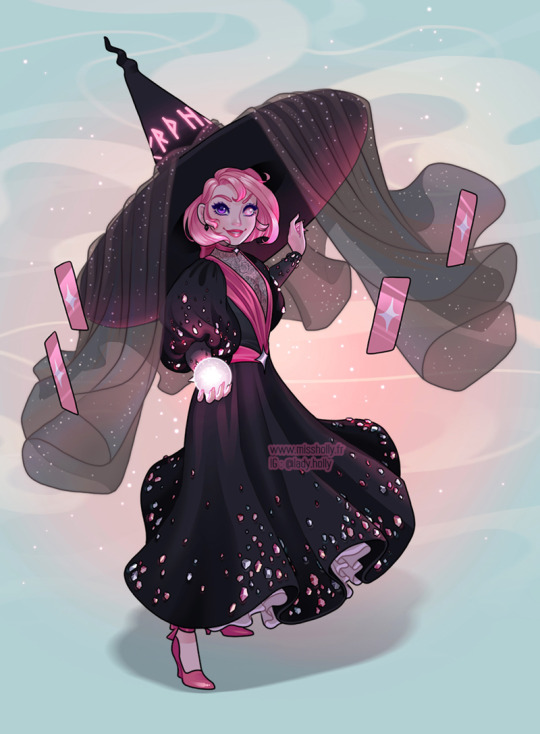
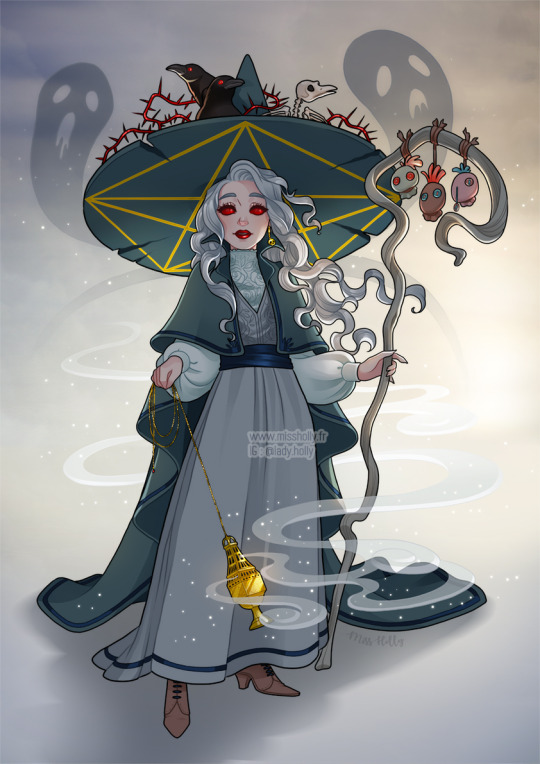
I’m back with more Animal Crossing illustrations
I’m really excited for halloween this year, since I entered university I haven’t done anything Halloween related and it’s a shame since it’s my favorite time of the year.
5K notes
·
View notes
Photo

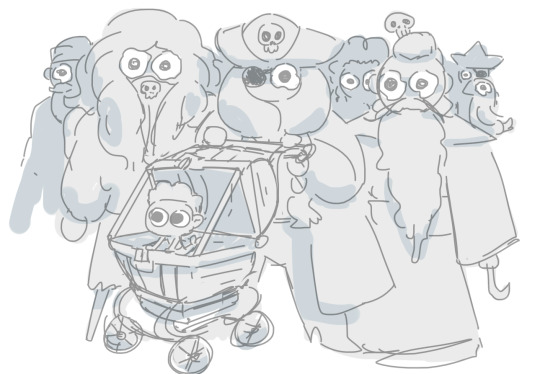
“Beauty Tahani wants to battle!”
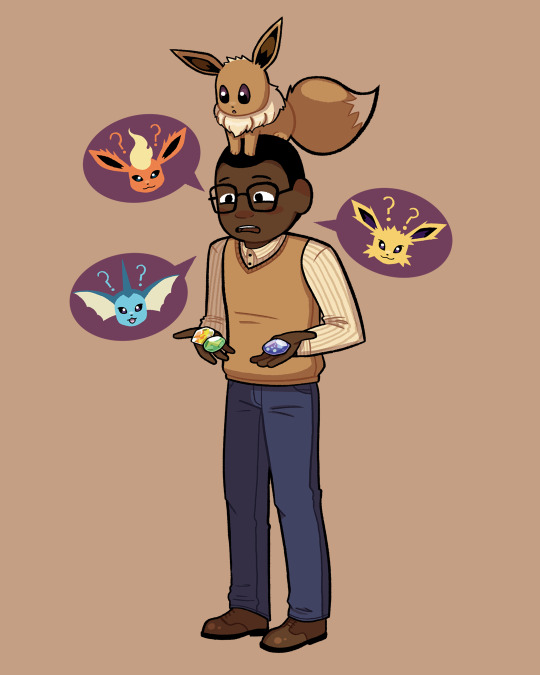
“Trainer Chidi wants to battle! …Maybe? Actually, hold on, he isn’t totally sure yet. Trainer Chidi is debating the ethical implications of Pokémon battles with himself. It’s… taking a while. Maybe you should just go.
Trainer Chidi… has a stomach ache.”

“Holy shirtballs! Trainer Eleanor wants to battle!”
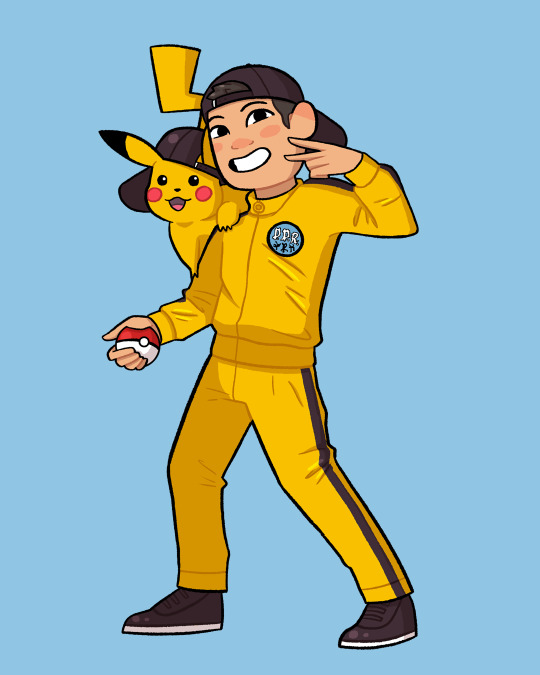
“Oh, dip! Trainer Jason wants to battle! “
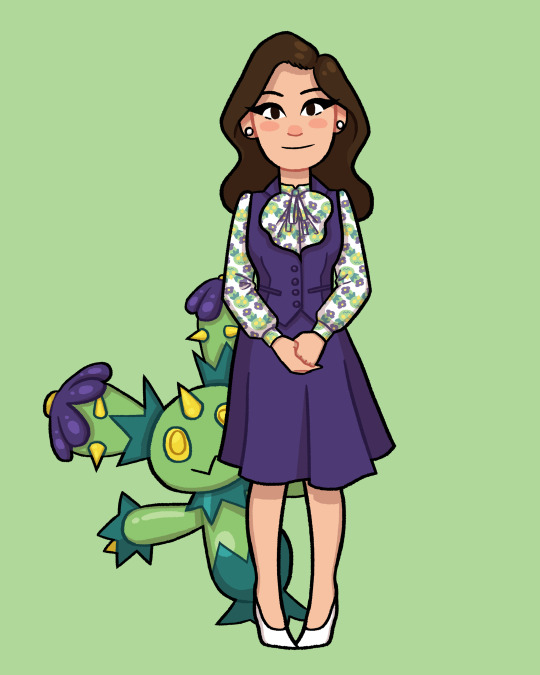
“Trainer Janet wants to battle, and she can absolutely assure you that she does not have a Maractus!”
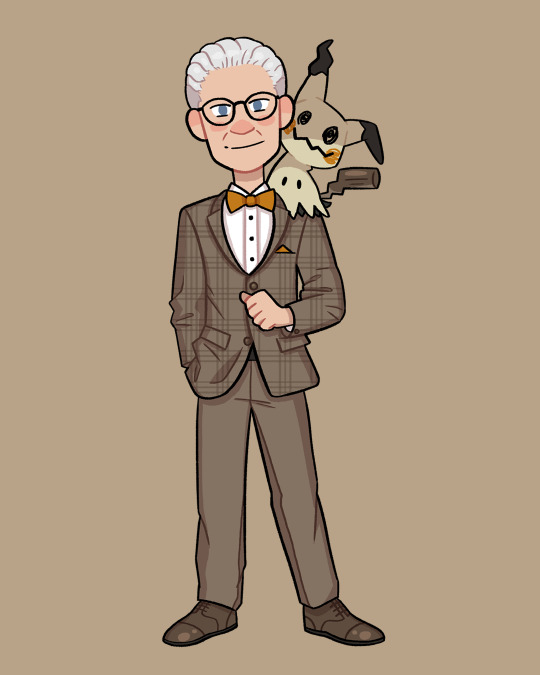
“Elite Four Michael wants to battle! (He’ll meet you in the dot of the “i”)”
104K notes
·
View notes
Text
Easy hooded cloak walkthrough!
For @ivoryandsalt but also anyone else who finds it helpful.
To do this, you’ll need a measuring tape. If done with a non-fraying fabric like fleece, jersey knit or felt, then you don’t even have to worry about finishing the edges.

These are really quick drawings, sorry. But here’s the basic shape of the cloak.
1: Measure the width of your shoulders. Add about 4-6 inches to that. Divide that measurement by half. That’s how wide it needs to be at the top. Cut 2 of these for your front pieces. By cutting at an angle from the shoulders to the bottom, you’ll get a fuller cloak.
2: Use the front pieces as your pattern to cut out your back piece. put the center back line against a fold and only cut the other sides so you have one big piece for the back.
3: This should be a curved cutaway for the neck. Cut it smaller than you need, you can always make it bigger if needed. Sew the front pieces to the back of the cloak and try it on to see if it needs adjustments.

Here’s your basic hood shape! Cut two of these.
4: this is the front edge of the hood. Measure from the base of the neck to the top of your head to know how tall to make it, then add 6-10 inches, or more if depending how loose you want the hood to be. Make sure the back of the pattern curves outward (Or make it more like a triangle if you want that style of hood) to allow plenty of room.
5: Curve this out a bit to help it match to the neck opening on the cloak. Match the center seam of the hood the the center fold of the back of the cloak and sew each side outward from there.
You may have extra fabric from the hood after attaching, you can either fold than it to hem the hood, or trim the angle of the hood down to match the line of the front of the cape.
Here’s a much better drawn image of the pattern pieces if that helps.

And there you go!
294 notes
·
View notes
Photo


Eeveelution T-shirts made by chocolateraisinfury
13K notes
·
View notes
Photo
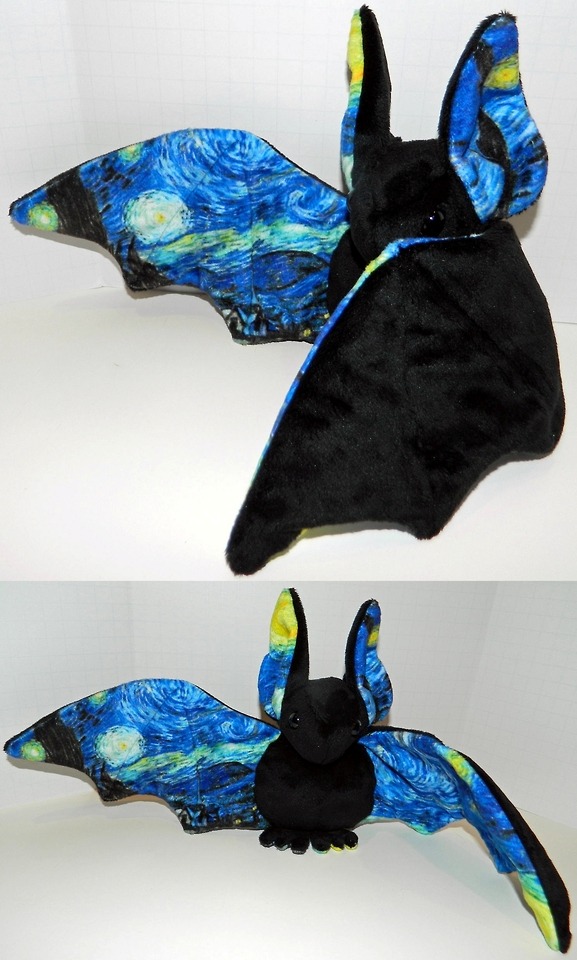


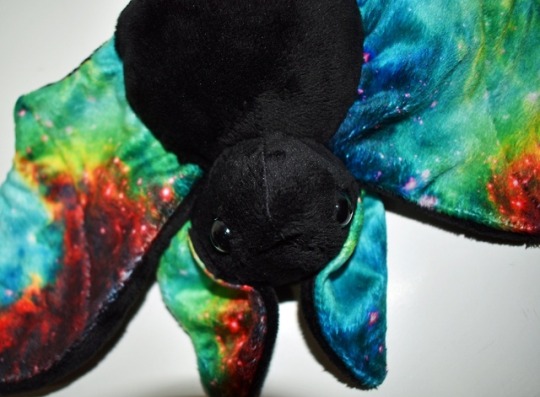
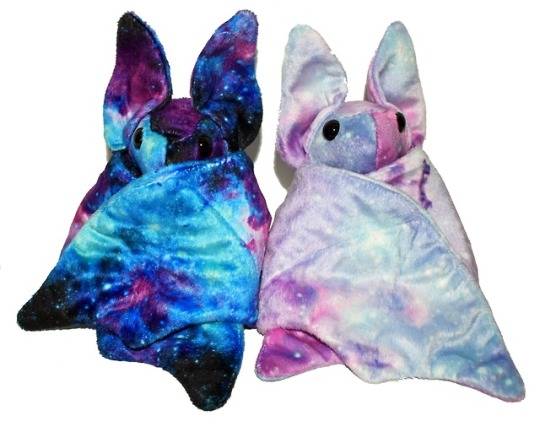
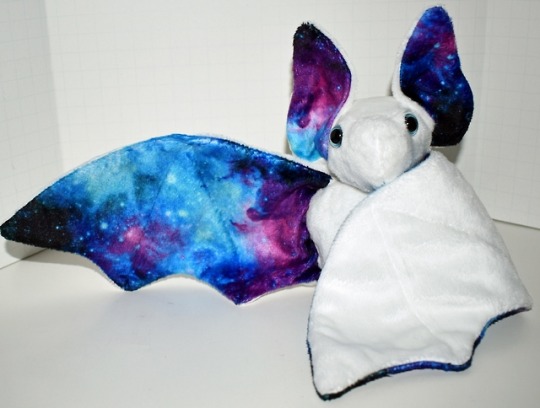
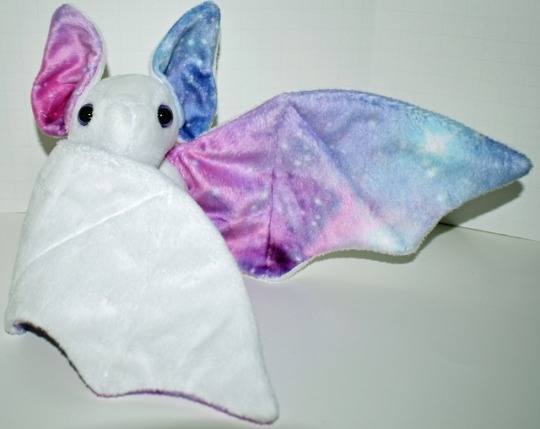
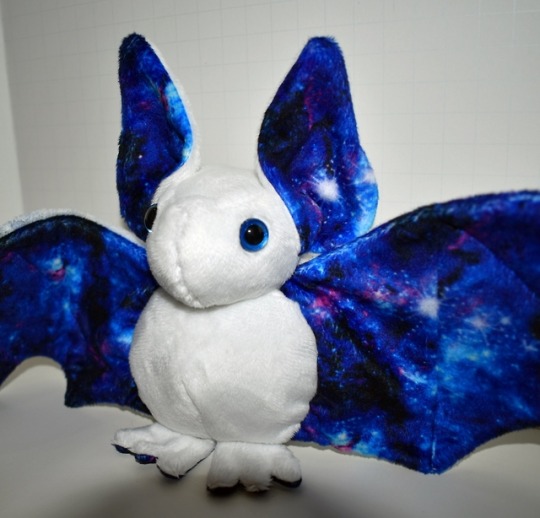
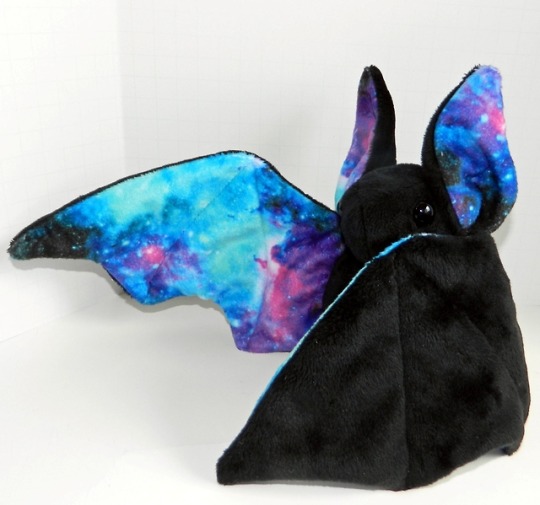

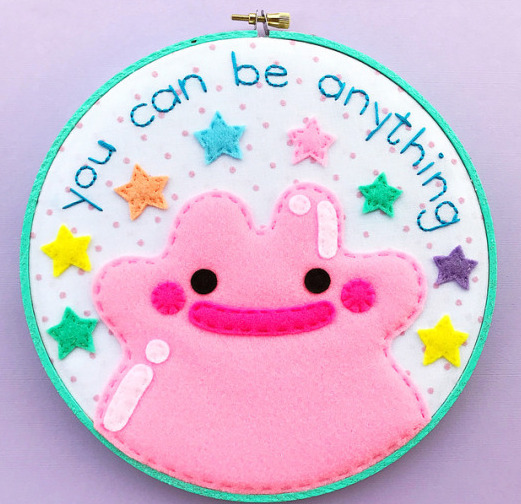
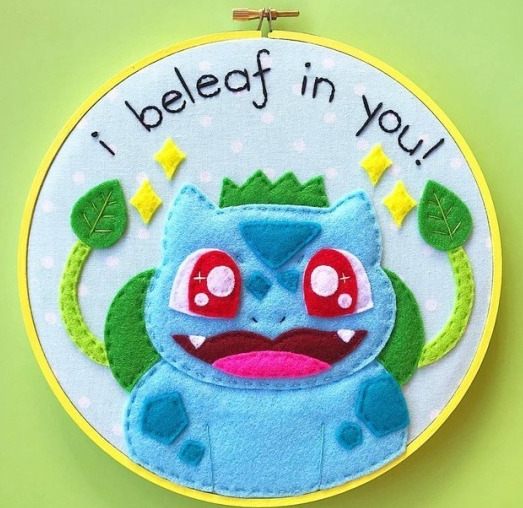
Plushes By Oh Joy on Etsy
See our #Etsy or #Plush tags
9K notes
·
View notes


